Ever wondered what all the fancy machines and gadgets scattered around my studio are for? Despite how it may look, this isn’t the lab of a mad scientist (or not exactly). Everything in my studio has a definite purpose.
So step on in and have a look around…. I’ll be your tour guide!
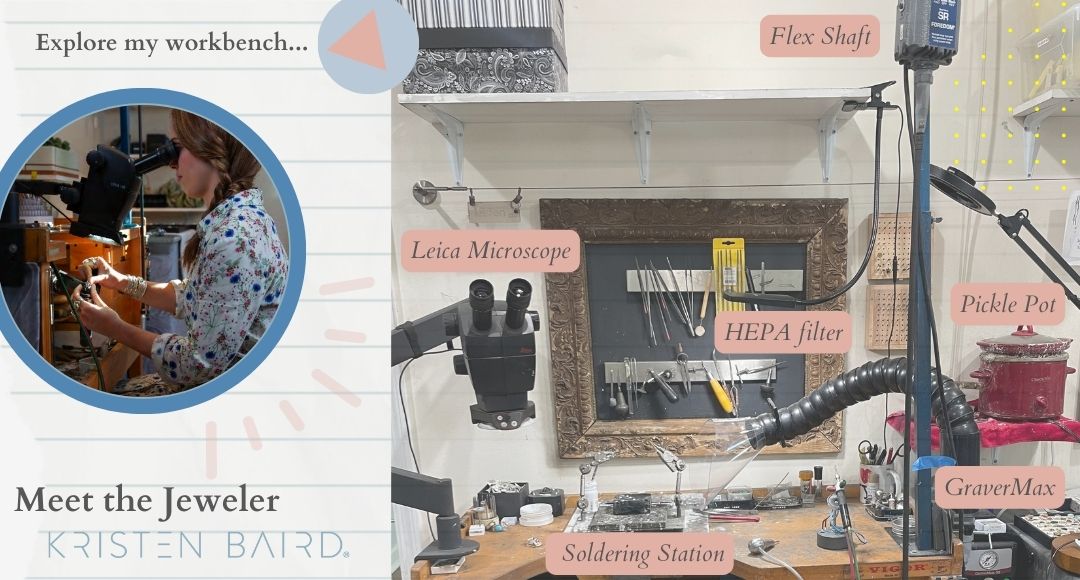
The first thing you’ll notice when looking at my workbench is my precious Leica Microscope. This was one of my first major studio splurges and she’s so worth it. Leica is a great brand that also makes fancy cameras for photographers. I use this microscope every day to take measurements, examine gemstones close-up, and do that teeny-tiny detail work I’m known for. My Leica is attached to an easy-to-manipulate articulating arm that allows me to effortlessly move her out of the way if I need more space. (Yes, my microscope is a lady. All my tools are!)
To the right, you’ll notice the hose that goes off toward my HEPA filter “Quatro Collect-All”, which collects all that nasty polishing dust that floats around in the air and the valuable gold and silver dust that will be recycled later. (I’m always looking for ways to recycle in the studio!) There’s also my Flex Shaft, the tool that is used to power all my bits and burrs. Then there’s the GraverMax, a pneumatic hammer handpiece that I use for setting stones. She is connected to a hose that runs up the ceiling and connects to a Silent-Aire Compressor.
Up to the right, you probably also noticed that old crock pot. She’s not for my lunch (I promise!) That’s my Pickle Pot. She holds an acid bath where I clean all my pieces from the torch firescale after they’re soldered.
Speaking of soldering, let’s take a closer look at my solder station. To do that, we have to move my Leica out of the way (Excuse me, Miss) and zoom in…
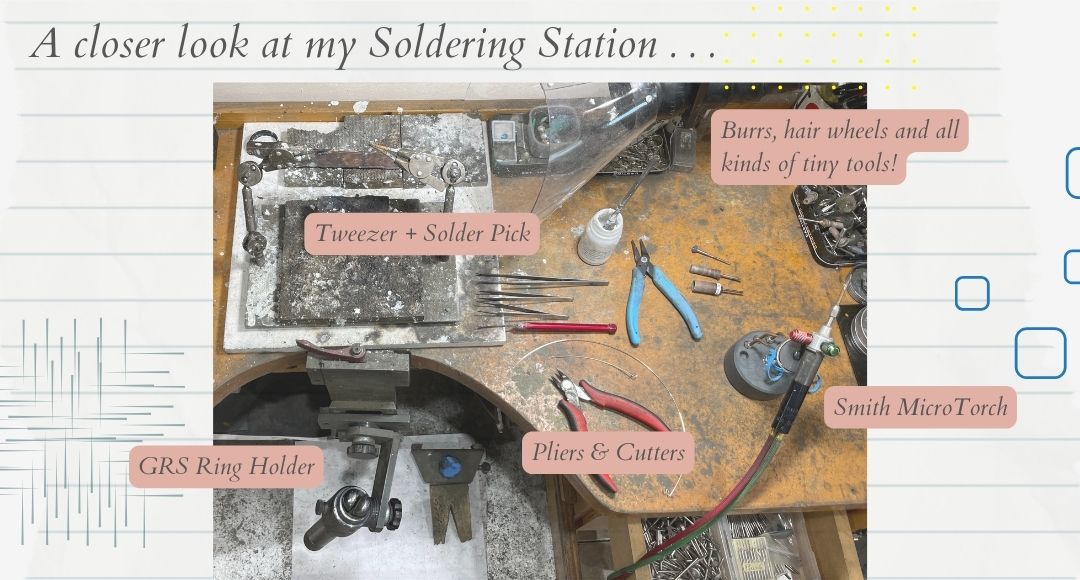
This is probably where I do most of my work. I have my Smith MicroTorch for melting and soldering metal as well as my steel tweezers and solder pick. When setting stones, I use my rotating GRS Ring Holder to hold the ring. I also have pliers for tightening settings, burrs, hair wheel brushes, and all kinds of tiny tools! (You can learn more about all these tools on my Stone Setting Jargon blog!)
I could spend a lifetime explaining each individual tool and what it does, but this is just a quick tour, so let's zoom back out and turn around….
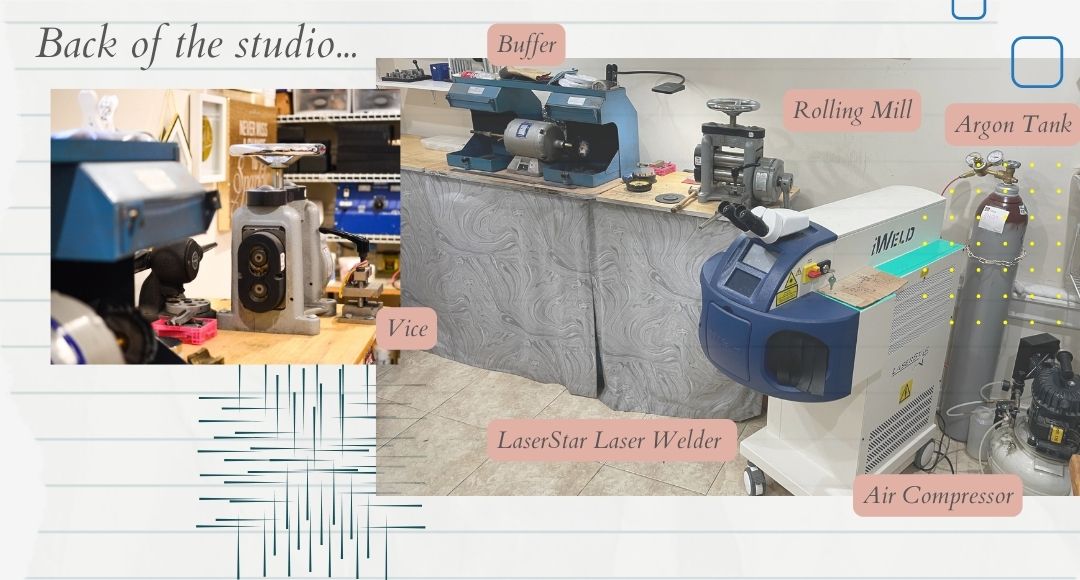
Oh hello beautiful LaserStar Laser Welder! Starr is the latest addition to my studio crew. She allows me to weld together even smaller and more intricate pieces with precision and less waste. You can learn more about all the cool stuff she can do on my Studio Upgrade blog.
Starr’s neighbor is the rolling mill, which I use to flatten metal. I also have my vice, which holds all my steel mandrels to be used with all my hammers, and my big buffer, which is how all my pieces get clean and sparkling. This is the final step in the jewelry-making process.
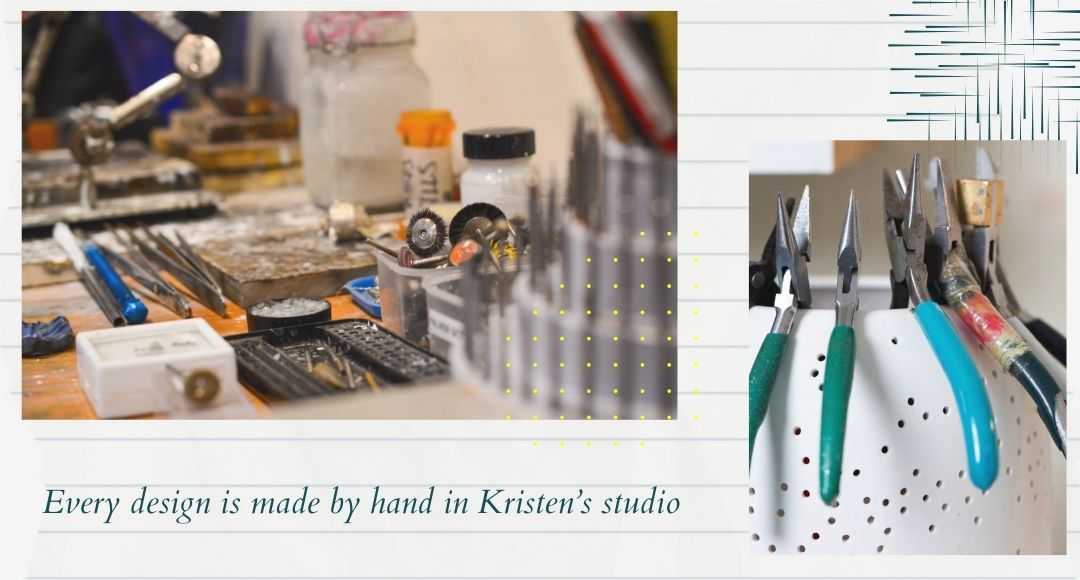
Tucked under this table in baskets, you’ll also find lots of fun little tools, like ring stretchers, mandrels, which are used to form rings and cuff bracelets, disk cutters, and a dapping block, used to make domed pieces.
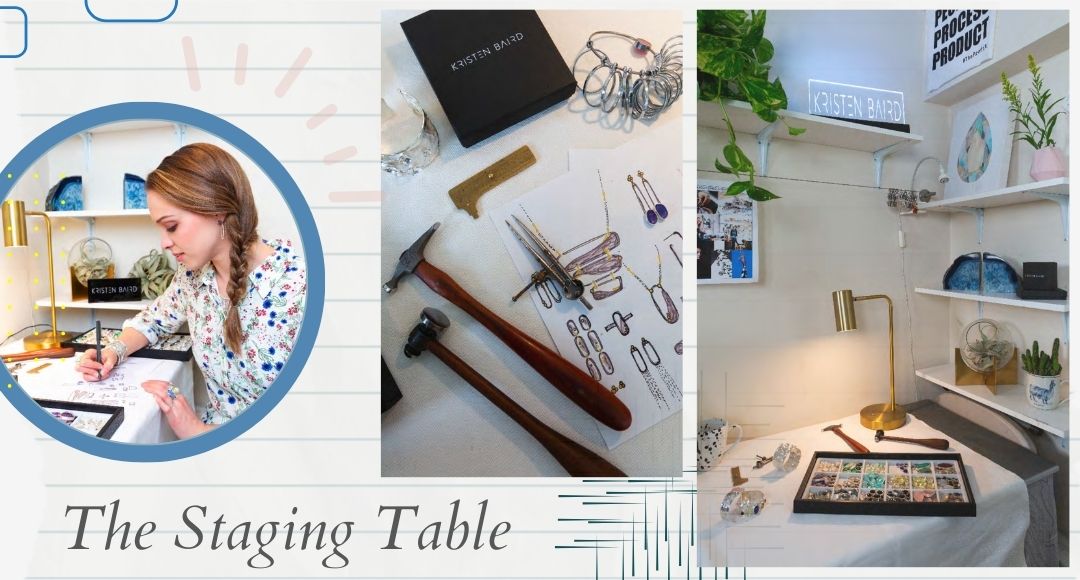
Finally, I have my staging table. This is where I lay out my final pieces and sparkly stones. WIPs (works in progress) live here too. Notes, ideas - this table gets a ton of use!
Thanks for coming along with me on this studio tour. I hope you enjoyed being shown around. Now, back to being a mad scientist… I mean jewelry designer!